DIY Story Stones for Kids: Easy & Fun Storytelling Craft
Arts & Crafts • Double Batch
This post contains affiliate links — see our disclosure.
DIY Story stones for kids turn a handful of smooth rocks into a reusable invitation to imagine, talk, and create together. Kids can paint simple pictures on each stone, then use them again and again to build silly stories, retell family memories, or invent brand-new adventures.
⏱ Setup Time: 10 minutes| 👶 Ages: 3–8| 🧹 Mess Level: Medium| 💰 Cost: $
Supplies Needed for DIY Story Stones
- Smooth, clean rocks
- Acrylic paint or paint markers
- Paintbrushes
- Cup of water
- Paper towel
- Small cloth bag or basket
- Optional: clear non-toxic sealer
- 🔗 Paint markers
- 🔗 Small paintbrush assortment
- 🔗 Small drawstring bags for story stones
- 🔗 Stones for decorating
This post may contain affiliate links. Double Batch may earn a small commission at no additional cost to you.
Prep Ahead
Wash and dry the rocks completely. Choose stones large enough that they are not choking hazards, and protect the work surface before painting.
Make It Together
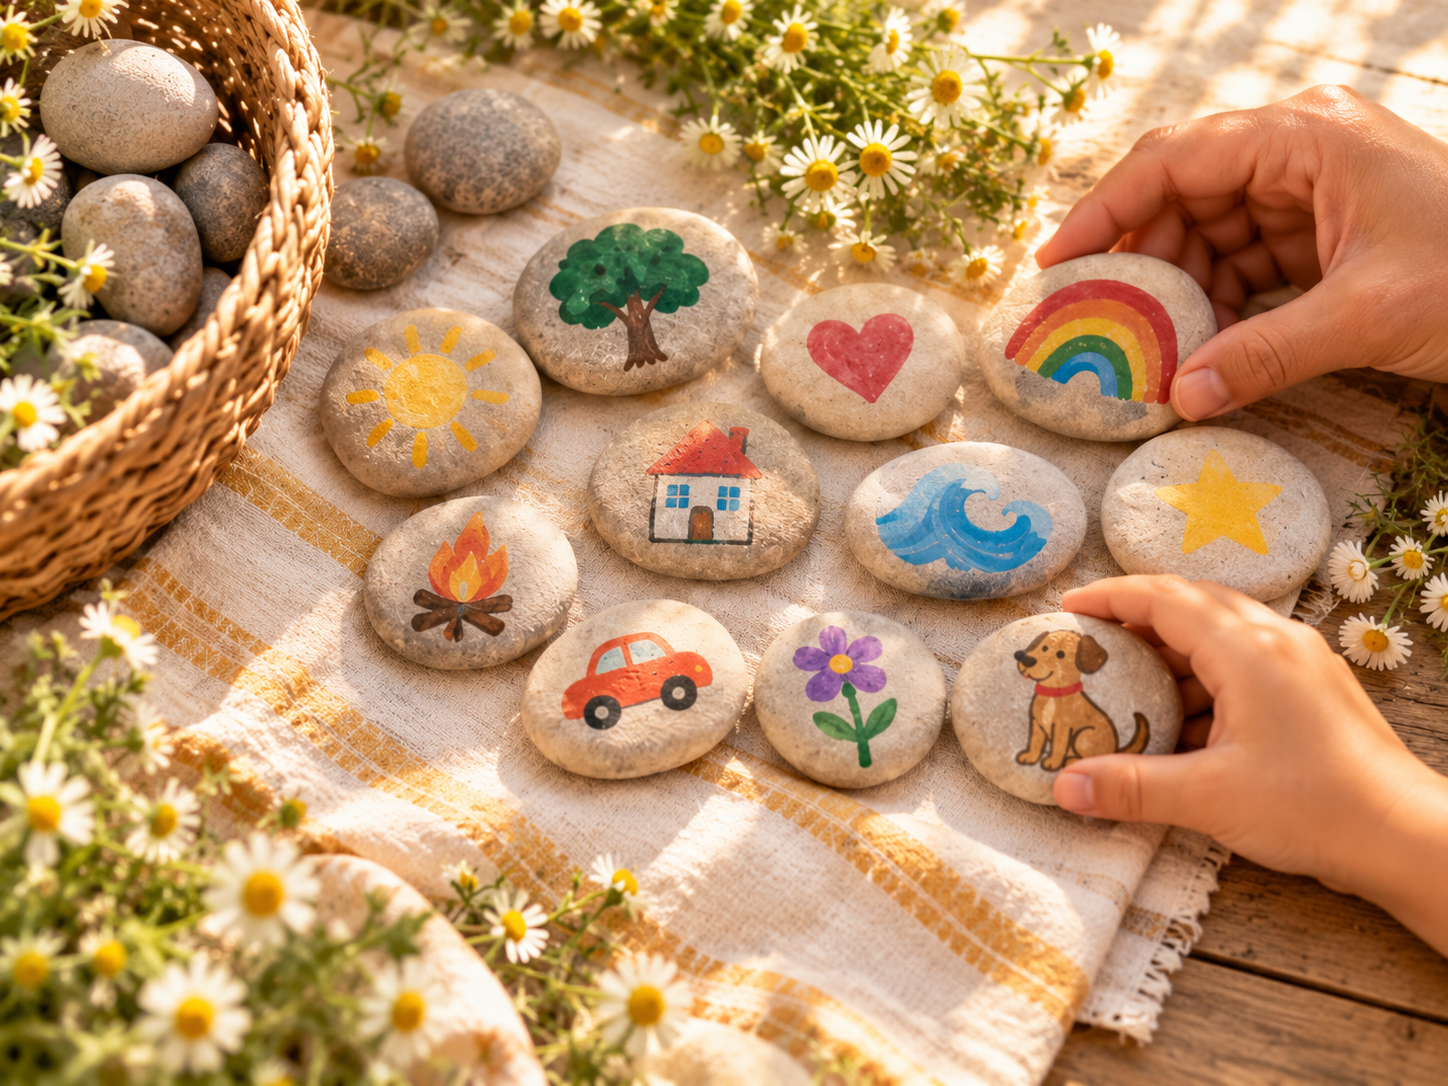
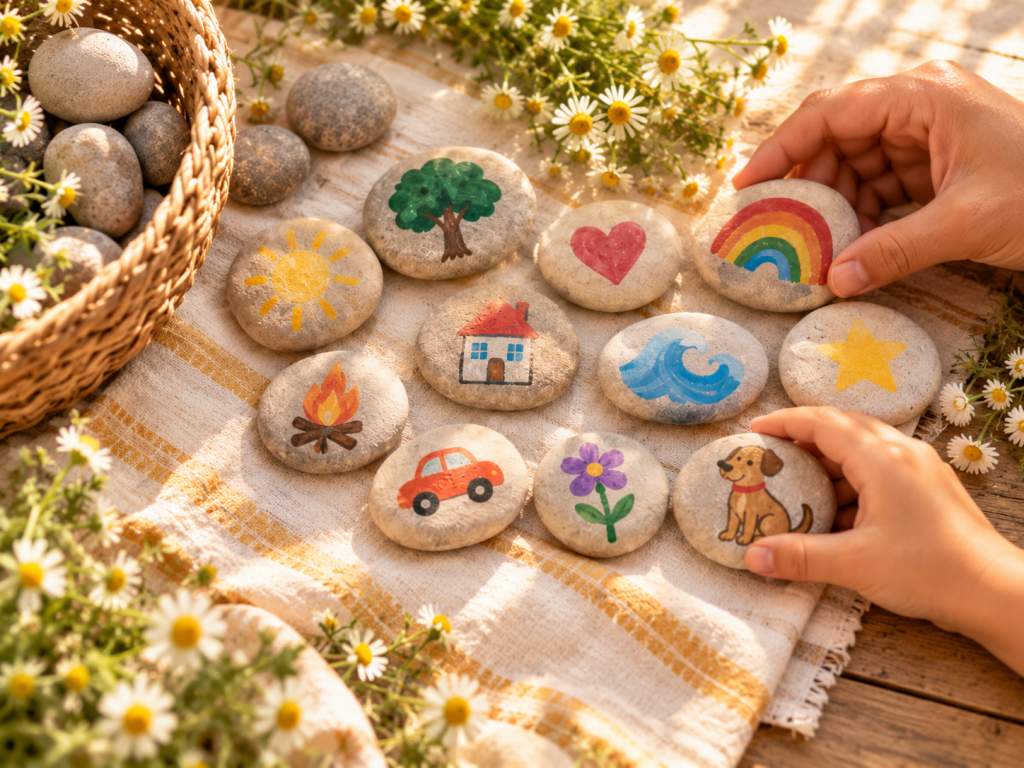
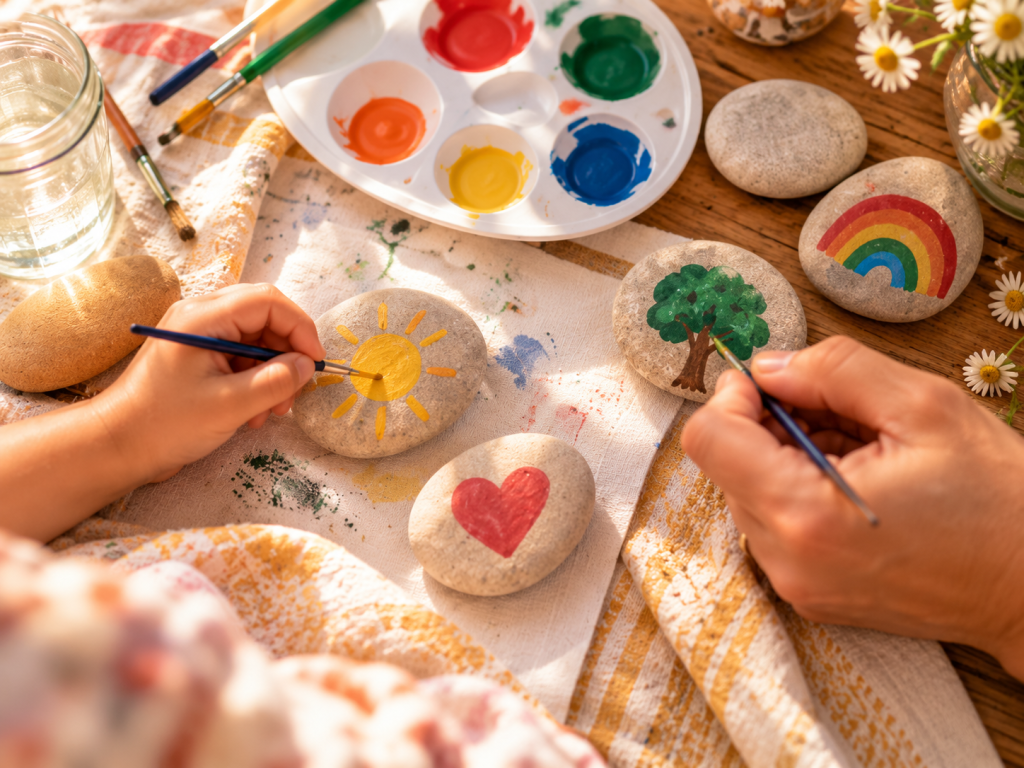
- Choose the pictures. Pick simple symbols such as a sun, tree, house, animal, heart, vehicle, or favorite food.
- Paint the first layer. Add the main shape or background color to each rock.
- Add the details. Let the first layer dry, then add faces, lines, windows, wheels, or other small details.
- Seal if desired. An adult can apply a clear non-toxic sealer according to the product directions.
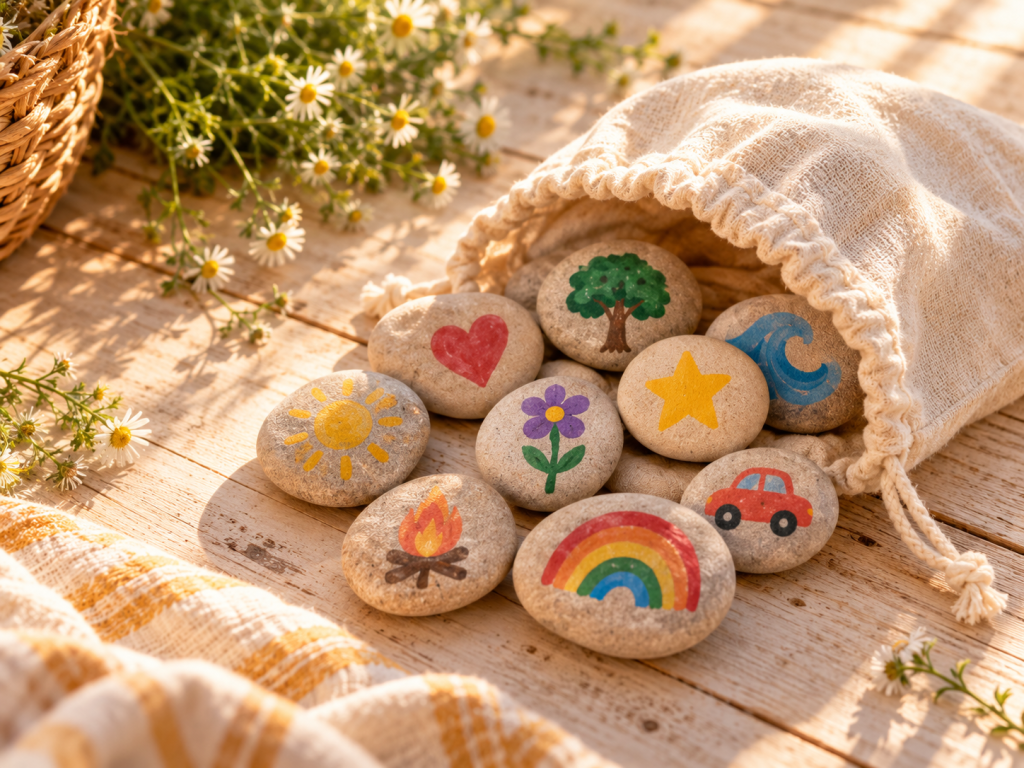
- Store the stones. Place the finished pieces in a cloth bag or small basket.
- Tell a story. Take turns choosing stones and use each picture to add a new part to a shared story.
Kid Jobs & Adult Tips
| 👶 Kid Jobs | 💡 Adult Tips |
|---|---|
| Choosing symbols for the stones | Start with familiar pictures that are easy to recognize and paint. |
| Painting colors and simple details | Let the first paint layer dry before adding smaller details. |
| Selecting stones from the bag | Use only rocks large enough to be safe for the child’s age. |
| Adding a new part to the story | There is no wrong storyline. Follow the child’s imagination. |
| Choosing a title for the story | Write down a favorite title or funny line afterward. |
Creative Ways to Play with Story Stones
Once your DIY Story Stones for Kids are finished, the fun is just beginning! Here are a few easy ways to turn your colorful stones into hours of imaginative play.
Pick Three, Tell a Story: Have your child choose three stones and create a story using all three pictures. Encourage them to come up with a beginning, middle, and end.
Pass the Story: Grandma starts the story with one stone. Each family member picks another stone and adds something new. Keep going until you’ve created a silly family adventure!
Mystery Stone Bag: Place your finished stones inside a small cloth bag. Have your child reach inside, pick a mystery stone, and make up a story about what they discover.
Storytelling Challenge: Choose a theme like a magical forest, a trip to the beach, or a special family adventure. See what stories your little ones can create with their painted stones.
Make It a Memory
Save a few favorite DIY Story Stones from each season. Over time, you’ll build a collection of colorful memories that Grandma and the kids can enjoy together again and again.
💛 Memory-Making Prompt
While telling the story, ask: “Can we include something we did together?”
Write down one favorite sentence from the story. It may become a funny family phrase you remember long after the paint dries.
Making DIY Story Stones for Kids is a wonderful way to encourage creativity, imagination, and storytelling without needing expensive supplies.
Try It Another Way
- Emotion stones: Paint different faces and use them to talk about feelings.
- Alphabet stones: Paint letters and use them for simple word play.
- Garden markers: Paint fruit, flowers, or herb names.
- Family memory set: Paint symbols for favorite trips, traditions, pets, or celebrations.
⚠️ Grown-Up Safety Note
Choose rocks large enough that they are not choking hazards. Supervise paint use, and apply sealer outdoors or in a well-ventilated area.
Frequently Asked Questions
What kind of rocks work best?
Smooth, flat rocks with enough surface area for a simple picture are easiest to paint and handle.
Do story stones need to be sealed?
No. Sealing is optional, but it may help protect the paint if the stones will be used often.
What should we paint first?
Begin with familiar symbols such as a sun, house, tree, animal, heart, or car.
How do we use the finished stones?
Take turns drawing one stone at a time and add its picture to a shared story.
More Simple Activities, Less Guesswork
Get the free Double Batch Activity Guide with 30 simple ideas for making sweet memories together. Download the Free Guide